PPF Installation Process Step by Step: Complete Guide to Paint Protection Film Application
PPF Installation Process Step by Step: Complete Guide to Paint Protection Film Application
Paint Protection Film (PPF) has become one of the most effective methods of having a car with new paint. Whether you have a brand-new vehicle or you need to safeguard an existing car, it is best to know how PPF is mounted so that you can appreciate the need to hire the services of professionals and use high-quality film.
This manual takes you through the process of installing the PPF by step, starting with the surface preparation and continuing to the final curing so that you are fully aware of how the film is applied and the outcome of the process.

What Is Paint Protection Film (PPF)?
Paint Protection Film or PPF is a transparent and hard polyurethane covering that is placed on top of the paint on a vehicle.
It protects against:
• Scratches and swirl marks are not extensive.
• Stone chips and road debris
• UV rays and oxidation
• Bird droppings and chemical stains.
Premium PPFs are self-repairing, and hence shallow scratches disappear under the sun or warm water.
Tools & Materials Required for PPF Installation
Tools & Materials Required for PPF Installation
Before starting the installation, professionals prepare the right tools and materials to ensure a flawless finish:
- High-quality Paint Protection Film (pre-cut or bulk roll)
- Slip solution (for positioning the film)
- Tack solution (for edge adhesion)
- Spray bottles
- Soft and hard-edge squeegees
- Heat gun or steam gun
- Microfiber cloths
- Clay bar
- Isopropyl alcohol (IPA) solution
Using proper tools is essential for achieving bubble-free and long-lasting results.
Pre-Installation Preparation (Most Critical Stage)
Pre-Installation Preparation (Most Critical Stage)
Before starting the installation, professionals prepare the right tools and materials to ensure a flawless finish:
- High-quality Paint Protection Film (pre-cut or bulk roll)
- Slip solution (for positioning the film)
- Tack solution (for edge adhesion)
- Spray bottles
- Soft and hard-edge squeegees
- Heat gun or steam gun
- Microfiber cloths
- Clay bar
- Isopropyl alcohol (IPA) solution
Using proper tools is essential for achieving bubble-free and long-lasting results.
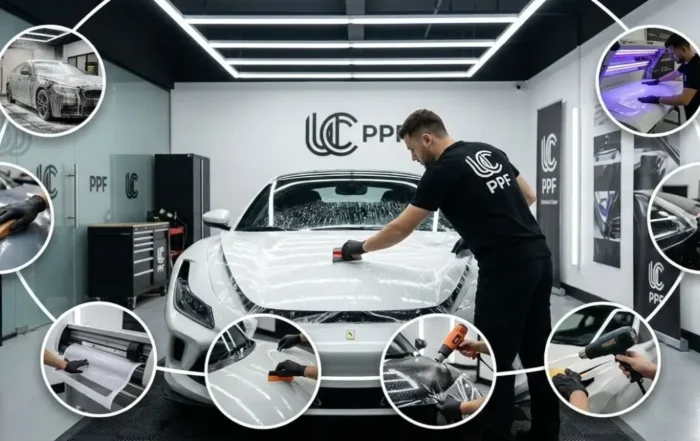
PPF Installation Process Step by Step
PPF Installation Process Step by Step
This section of the guide focuses on the importance of experience and skill for the success of the PPF installation process.
Step 1: Measuring & Cutting the Film
The installer will measure each panel with great accuracy. Depending on the type of film, the installer will either use pre-cut PPF patterns or cut bulk film to size to ensure a perfect fit on the panel they are protecting.
Step 2: Preparing the Installation Solutions
- Slip solution allows the film to slide easily for correct alignment
- Tack solution helps secure edges and corners firmly
Correct solution ratios are crucial for proper adhesion.
Step 3: Positioning the Film on the Panel
The installer will place the film onto the wet surface of the panel and carefully align it to be perfectly centred. The installer will also ensure that they do not overstretch any parts of the film.
Step 4: Squeegeeing the Film
The installer will use a squeegee to push the water and air bubbles from the center of the film to the outer edges. This requires technique and patience so that the installer does not leave any marks or creases.
Step 5: Edge Wrapping & Tucking
The installer will wrap the edges and tuck the corners of the PPF in a tidied up appearance so that it gives the appearance of being seamless. Properly wrapping the edges of the PPF will make the film last longer and prevent it from peeling away over time.
Step 6: Heat Application
Apply heat to activate the adhesive and to eliminate any fingers or tension marks, and to allow the film to conform to all curves and contours.
Post-Installation Curing Process
Post-Installation Curing Process
After installation, the film needs time to cure properly:
- Initial curing: 24–48 hours
- Avoid washing the car for 5–7 days
- Keep the vehicle away from dust and rain if possible
During curing, minor water bubbles may be visible but usually disappear naturally.
Common Mistakes to Avoid During PPF Installation
Common Mistakes to Avoid During PPF Installation
- Installing PPF on unclean or contaminated paint
- Overstretching the film
- Poor edge sealing
- Skipping proper curing time
These mistakes can reduce the lifespan and appearance of the PPF.
How Long Does PPF Installation Take?
How Long Does PPF Installation Take?
Installation time depends on coverage:
- Partial PPF (bumper, mirrors, bonnet): 4–6 hours
- Full front PPF: 1 day
- Full car PPF: 2–3 days
You should never rush quality installation.
Professional vs DIY PPF Installation
Professional vs DIY PPF Installation
While DIY kits are available, professional installation offers clear advantages:
DIY Installation
- Lower upfront cost
- Higher risk of errors
- Limited finish quality
Professional Installation
- Superior finish and durability
- Warranty support
- Skilled handling of complex curves
For premium results, we always recommend professional installation.
PPF Maintenance Tips After PPF Installation Process
PPF Maintenance Tips After PPF Installation Process
- Wash using pH-neutral shampoo
- Avoid abrasive cloths or brushes
- Do not use harsh chemicals
- Regular gentle cleaning enhances film clarity
Proper care extends the life and performance of the PPF.
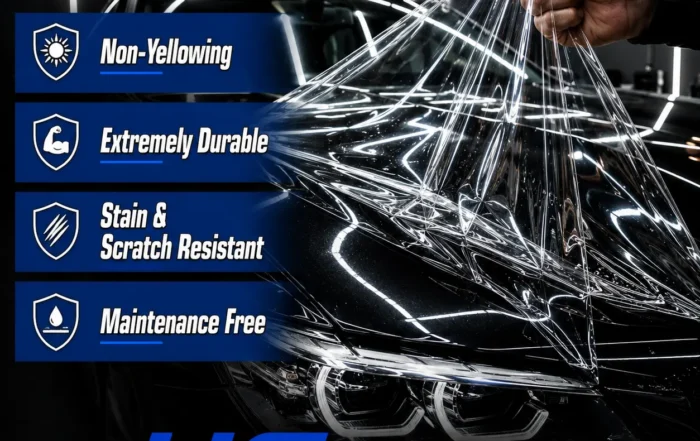
Why Choosing High-Quality PPF Matters
Why Choosing High-Quality PPF Matters
High-quality PPF offers:
- Excellent optical clarity
- Reliable self-healing properties
- Strong adhesive with clean removal
- Long-term durability and warranty
Premium films deliver better protection and maintain your car’s showroom finish.
Frequently Asked Questions (FAQs)
Frequently Asked Questions (FAQs)
Can PPF be removed later?
Yes, professionals can safely remove PPF without damaging the paint.
Does PPF damage car paint?
No, when installed and removed correctly, PPF protects paint rather than damaging it.
How long does PPF last?
High-quality PPF can last 5–10 years, depending on usage and maintenance.
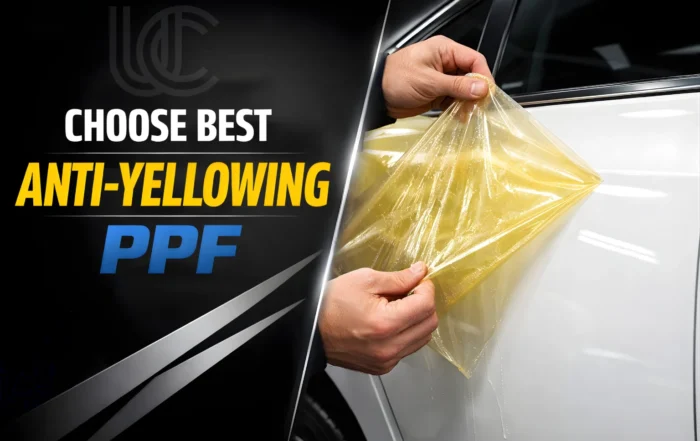
Does PPF turn yellow over time?
Manufacturers design premium TPU-based PPFs to resist yellowing.
Conclusion :
Conclusion :
A stepwise explanation of the process of installing the PPF makes it clear that the paint protection film is one of the most recommended investments that should be made on your car. Every step helps to give the protection and perfect finish, and all of this is due to proper preparation, right application and the curing of the paint that must be done meticulously. To maximize, select an installer that can be trusted and a quality PPF. That will have your car secure and new-looking over the next few years.
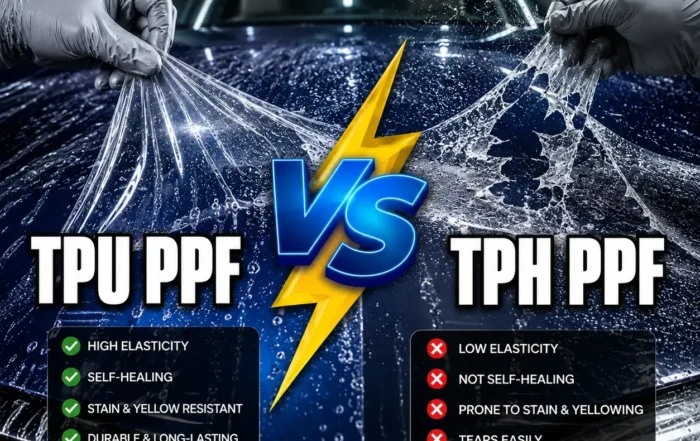
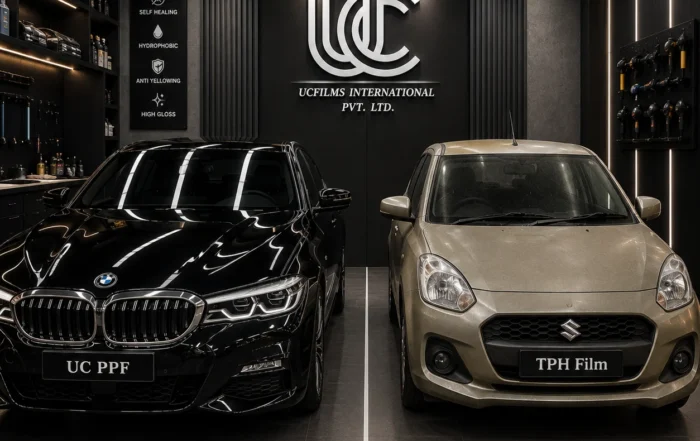
TPU vs TPH Paint Protection Film: Which PPF Is Better for Your Car Protection ?
If you have searched for paint protection film for your [...]
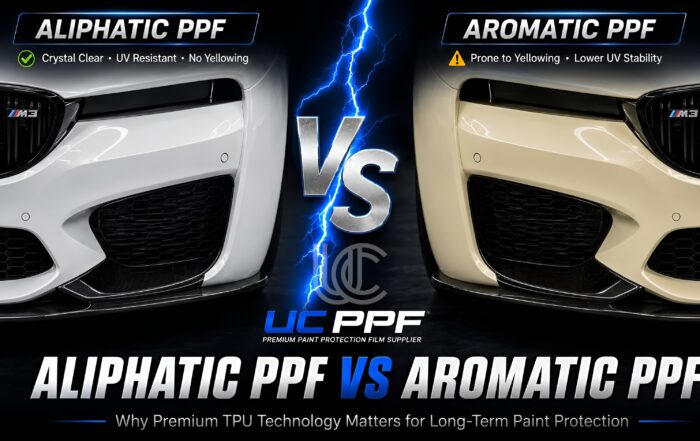
Aliphatic PPF vs Aromatic PPF: Which Paint Protection Film Is Best for Your Car
Introduction — Why PPF Choice Defines Your [...]
Anti Yellow PPF in India: Best Korean PPF Brand with Lifetime E-Warranty
In the modern car culture, it is more important [...]
PPF Installation Process Step by Step: Complete Guide to Paint Protection Film Application
Paint Protection Film (PPF) has become one of the most [...]

How to Start a Car Detailing Business in India (Complete Guide 2026)
Car Detailing Business in India: Step-by-Step Guide The car [...]
Coloured PPF vs Clear PPF vs Matte PPF: Which Paint Protection Film is Better ?
All car owners hope to keep their cars looking [...]
Want to grow your car detailing business? Join UC PPF as a franchise partner and become a part of the fast-growing car care industry. We are offering Paint Protection Film Franchise opportunities to detailing studios and entrepreneurs. Get premium products, training, branding support & a lifetime warranty system. Connect with us today and explore why detailers across India trust UC PPF for #paintprotectionfilm and #carppf solutions.


